
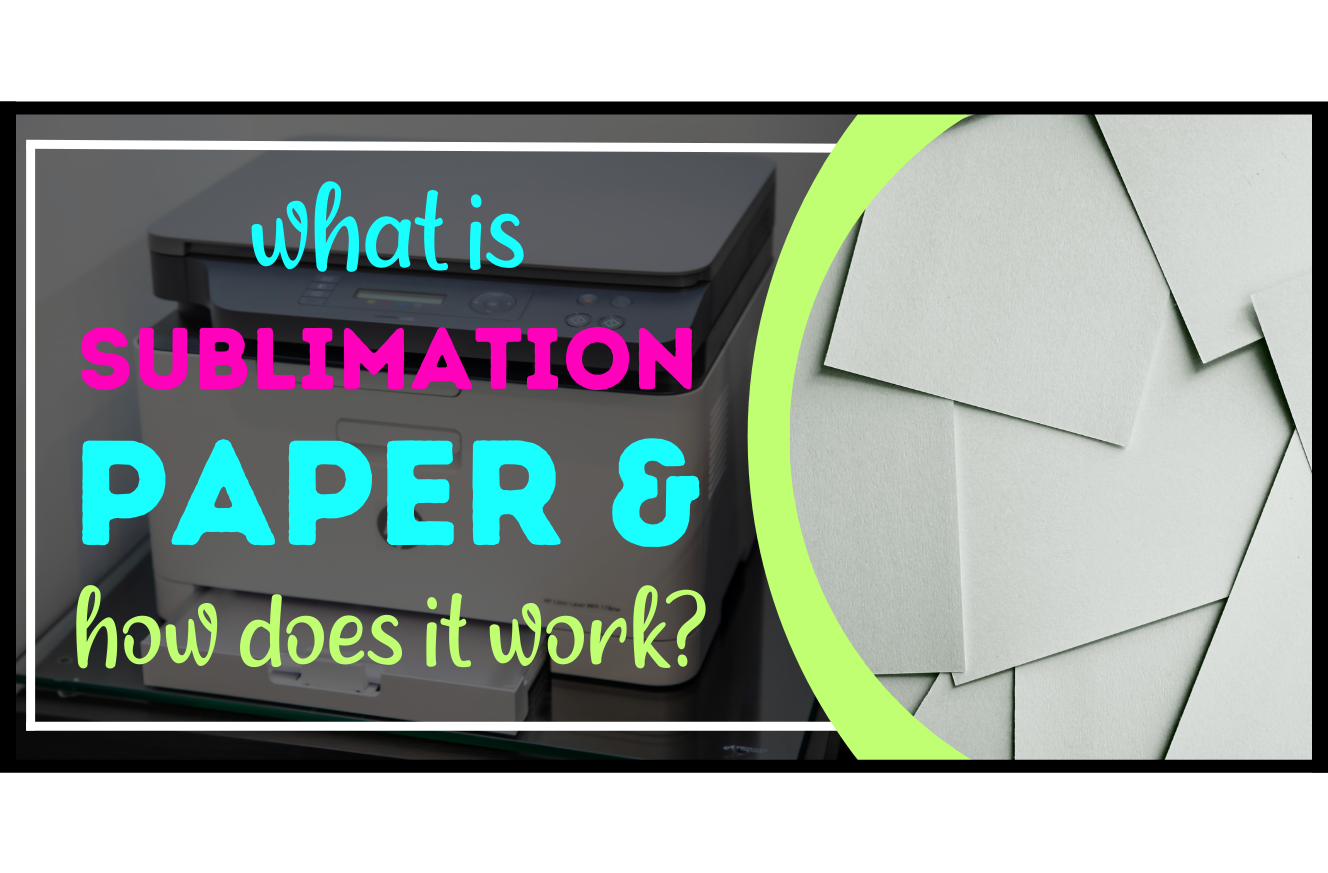
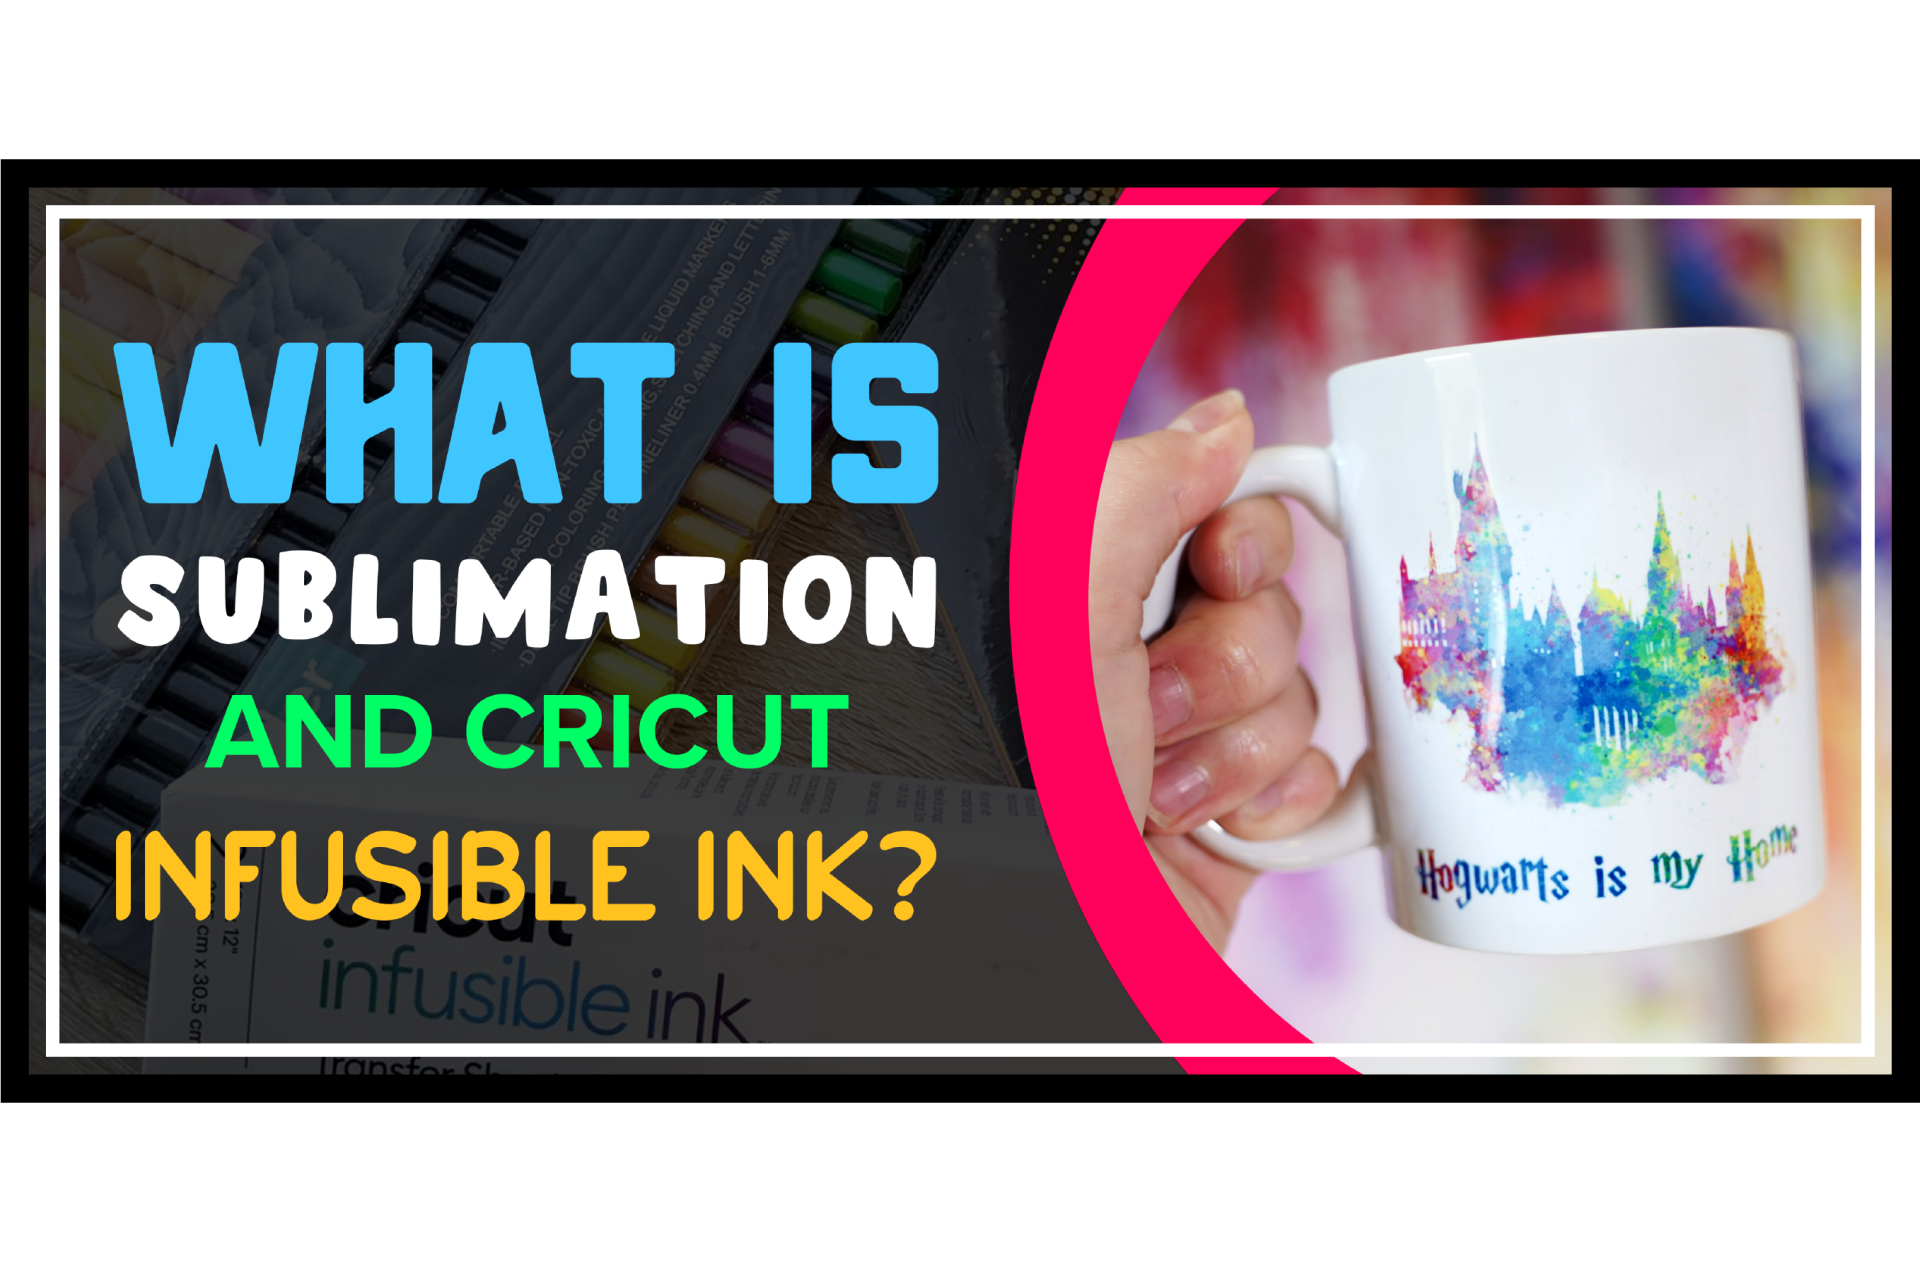
What is Sublimation Paper and How Does it Work?
Publish Date:
April 2, 2023
Author:
Rachel Tveit
Sublimation printing is an increasingly popular method for transferring designs onto various materials but using the right paper and techniques is crucial for achieving high-quality results. Whether you're a beginner or a seasoned sublimation crafter, these 5 expert tips will help you use sublimation paper and other helpful tools like a pro to take your sublimation crafting to the next level.
But first lets go over some of the basics like:
What is sublimation paper?
Sublimation paper is a special type of paper used in the sublimation printing process, which involves transferring an image or design onto a material using heat and pressure. The paper is specially coated with a layer of heat-sensitive ink that, when exposed to high temperatures, turns into a gas and bonds with the fibers of the material, resulting in a permanent transfer.
Sublimation paper comes in various sizes, weights, and thicknesses to suit different printers and crafting blanks. It is crucial to choose the right sublimation paper for your printer and crafting blank, as using the wrong type can result in poor-quality prints or even damage to your equipment. Some factors to consider when choosing sublimation paper include its compatibility with your printer, the weight and thickness of the paper, and the drying time and color vibrancy of the ink.
Sublimation paper is a popular choice for crafting enthusiasts who want to create personalized items such as t-shirts, mugs, phone cases, and more. It offers vibrant, long-lasting prints that won't crack, peel, or fade over time. With the right techniques and tools, anyone can learn to use sublimation paper like a pro and take their crafting to the next level.
What is the best sublimation paper?
A-SUB 125g sublimation paper is the most purchased and highly recommended sublimation paper we've seen both on Amazon and across all major social media platforms. It's what we use as well, and we highly recommend it as it's affordable, high-quality, readily available, and in stock and a crafting community fan-favorite. However, other widely used options with good reviews include:
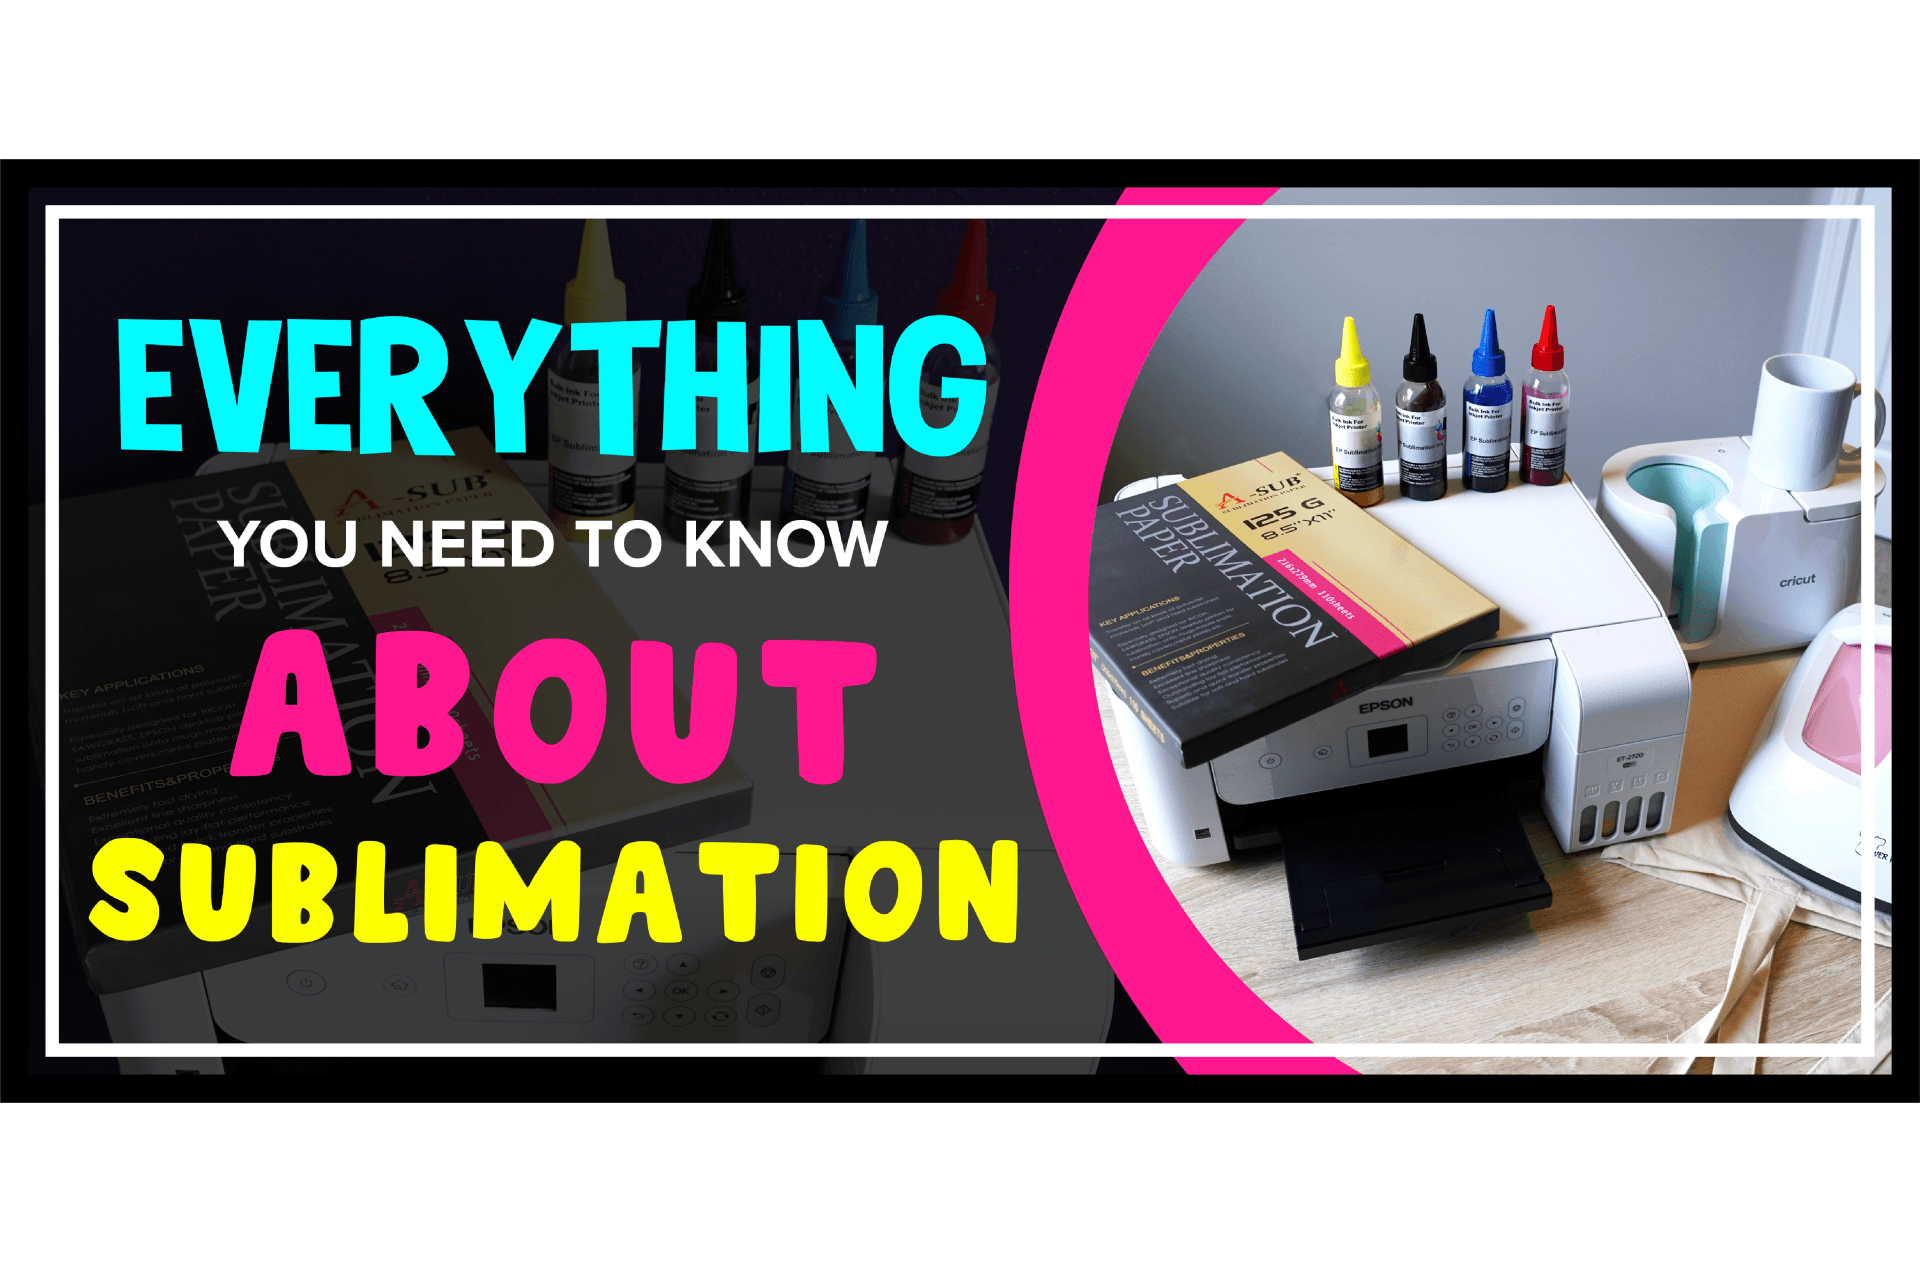
5 Tips for Using Sublimation Paper Like a Pro
1. Choose the right sublimation paper for your printer and crafting blank
Not all sublimation paper is created equal, and choosing the right one for your printer and crafting blank is crucial for achieving high-quality results. Our personal favorite, and a the most commonly used and recommended sublimation paper we've seen across our various crafting communities is A-SUB 125g sublimation paper. However, you will want to make sure to do your research and select a sublimation paper that is best for both your specific printer model, as well as the material you will be transferring your design onto. Additionally, consider the weight and thickness of the paper, as well as its drying time and color vibrancy. Testing different types of sublimation paper can help you find the perfect fit for your needs.
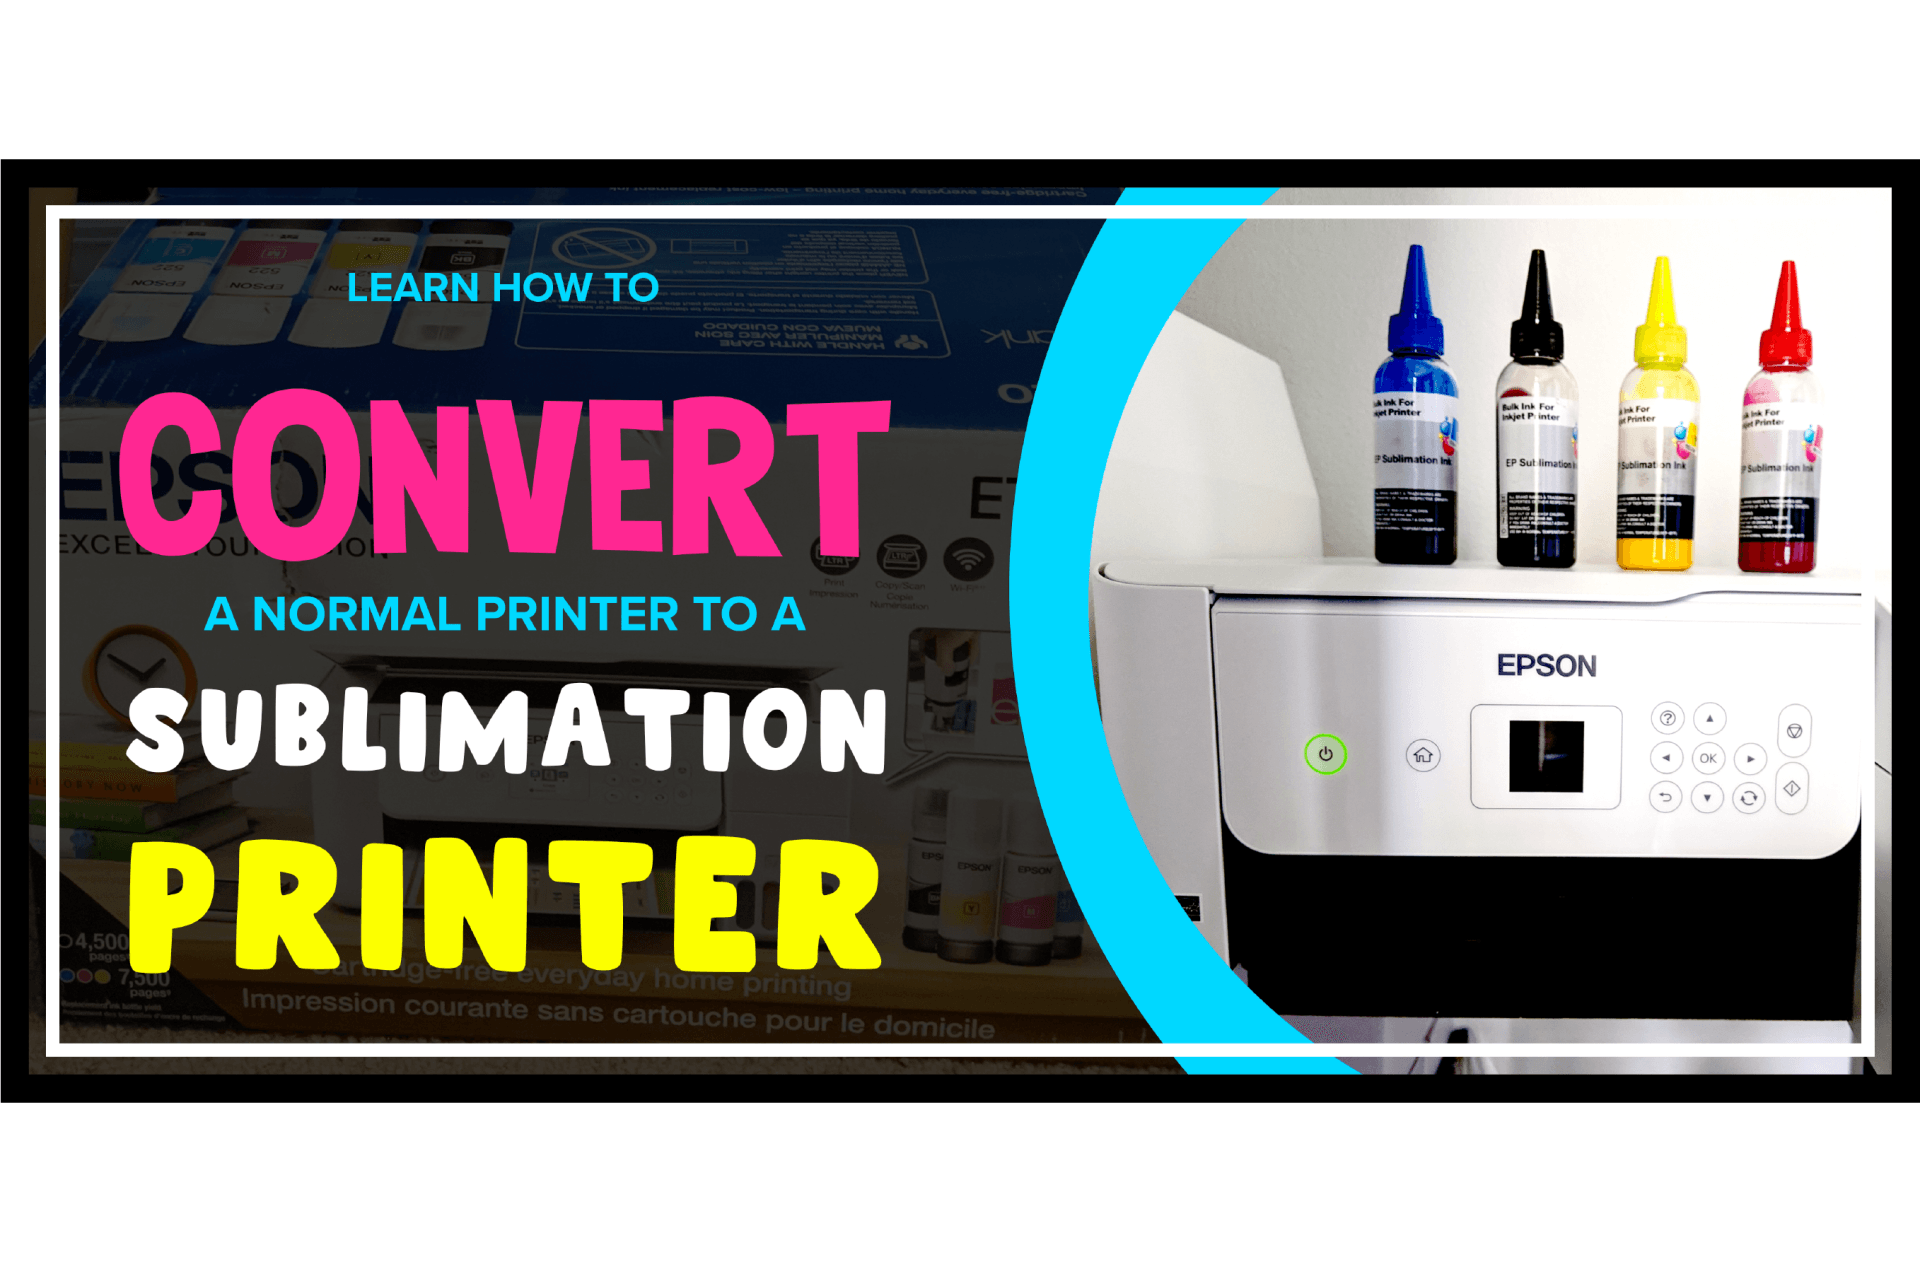
2. Adjust your printer settings for optimal results.
To get the best results from your sublimation paper, it’s essential to adjust your sublimation printer settings in order to yield the best print job. This includes selecting the correct paper type and print quality settings. Make sure to adjust the ink saturation and color balance to ensure accurate and vibrant colors if your printer has such options in the advanced settings. It’s also important to ensure that your printer is calibrated correctly and maintained to prevent ink flow or clogging issues. Taking the time to run a printer calibration and self-clean in combination with fine-tuning your printer settings can make a big difference in the quality of your sublimation prints.
3. Use high-quality images with high resolution and vibrant colors.
When using sublimation paper, it’s important to start with high-quality images that have a high resolution and vibrant colors. This will ensure that your final print is sharp, clear, and vibrant. Avoid using low-quality images or images that are too small, as this can result in a blurry or pixelated print. You can also enhance your images using photo editing software to adjust the brightness, contrast, and saturation levels. By starting with high-quality images, like these free watercolor Christmas sublimation graphics, you’ll be able to create stunning sublimation prints that are sure to impress.
It is also important to make sure your images are 300dpi, or dots per inch. This is the
printing standard that will ensure your design prints as crisp and clear as you see it on your computer screen. Web-optimized images are 72dpi and after printing, will appear blurry and less than one third the resolution because it will have only sprayed 72 dots of ink per inch on paper versus 300.
4. Pre-press fabric blanks to remove any moisture or wrinkles.
Before transferring your sublimation design onto fabric crafting blanks, you will want to pre-press them to remove any moisture or wrinkles. This will ensure that your final transfer is smooth and even. To pre-press your fabric, simply place it on your heat press and apply heat and medium pressure for a few seconds. This will help to remove any moisture and wrinkles, leaving you with a clean and smooth surface to print on. Make sure to let the fabric cool completely before transferring your sublimation print on it to avoid smudging or distortion of the image. By pre-pressing your fabric blanks, you’ll be able to achieve professional-looking sublimation prints every time.
5. Use heat-resistant tape to secure the paper to your project.
One of the most important steps in sublimation printing is securing the sublimation paper to your project. To ensure that the paper stays in place during the printing process, use heat-resistant tape to secure it to your project. This will prevent any shifting or movement of the paper, which can result in a blurry or distorted image. Make sure to use a tape that can withstand high temperatures, such as heat-resistant Kapton tape or thermal tape. Additionally, be careful not to overlap the tape onto the printable area of the paper, as this can cause unwanted lines or marks on your final print.
Get Ready to Sublimate Like a Pro: Let's Get Printing!
Sublimation crafting is a super fun and exciting way to create unique and personalized items for yourself or your loved ones. Learn even more tips and tricks about sublimation and remember that with the right tools and techniques, you can achieve professional-quality results that are sure to impress. By following these 5 expert tips, you'll be able to use sublimation paper like a pro, and take your crafting to the next level. Remember to choose the right paper for your printer and crafting blank, adjust your printer settings, use high-quality images, pre-press your fabric blanks, and use heat-resistant tape to secure your paper. By doing so, you'll be able to create stunning sublimation prints that are sure to turn heads.
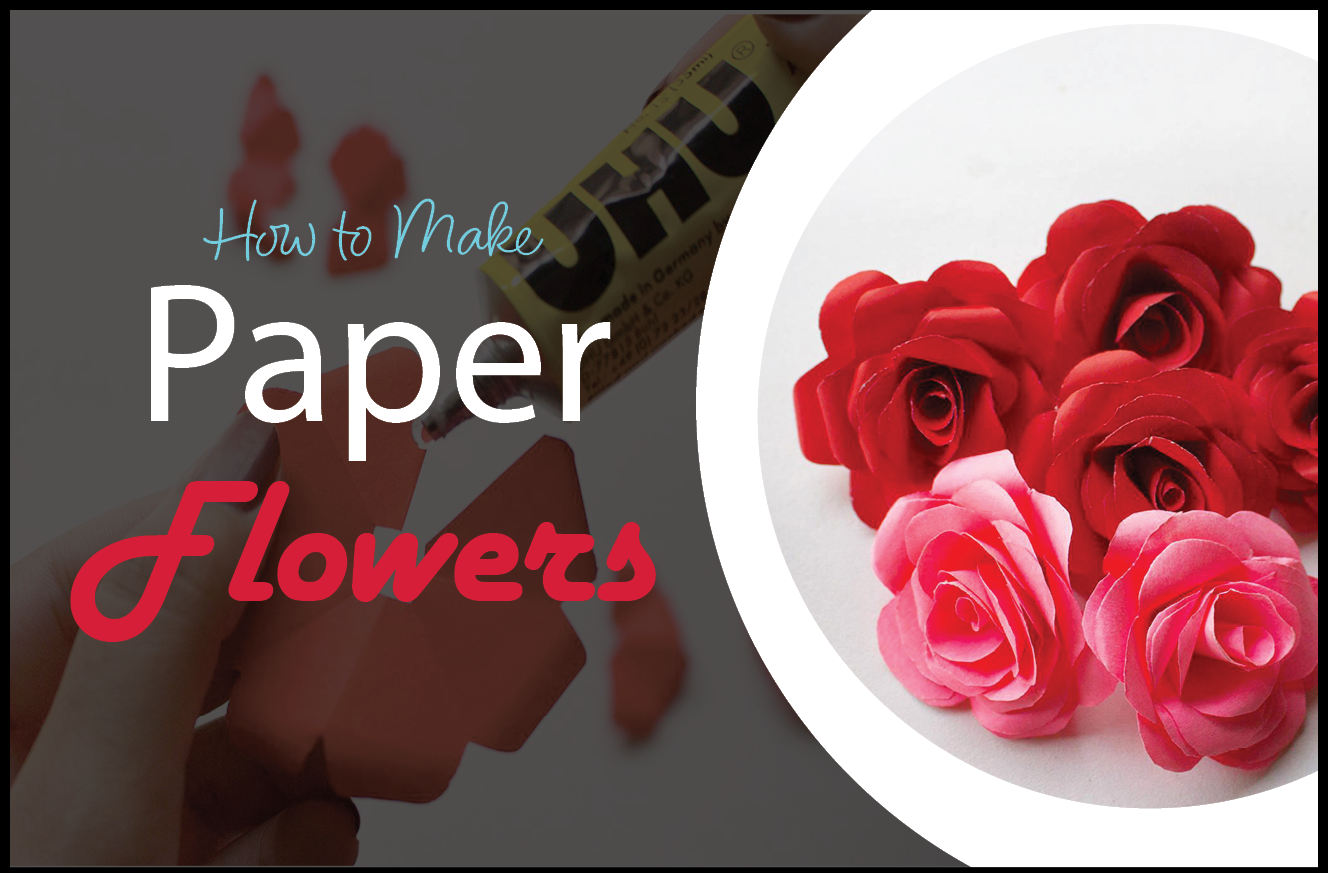
You're crafting journey doesn't have to stop here. If you're interested in other crafts and tutorials, check out our in-depth tutorial on how to make paper rose flowers.
If you're looking to connect with other passionate sublimation crafters, join our Cricut community on Facebook: Any and All Things Cricut. Here, you'll be able to share your creations, ask for advice, and learn from other members who share your love of all things Cricut. So what are you waiting for? Join us today and let's get crafting!
Frequently Asked Questions

Join our Cricut Community
Join our Cricut community on Facebook by joining our Cricut group: Any and All Things Cricut!
Here, you’re more than welcome to post photos of your latest projects, connect with other crafters, share your new Etsy shop, products, other social media accounts and more.
It’s also a wonderful place to share tips and tricks that you’ve learned along the way in your Cricutting adventures, as well as an excellent resource for troubleshooting any Cricut issues and getting answers to any questions you may have. What better place to get information and connect, than where all the Cricut crafters are!?
Join the crafting group today!
Additional Sublimation Resources

Check out the Crafting Spree blog for more DIY, Crafting & Cricut Resources:
Share this article with your friends & family.