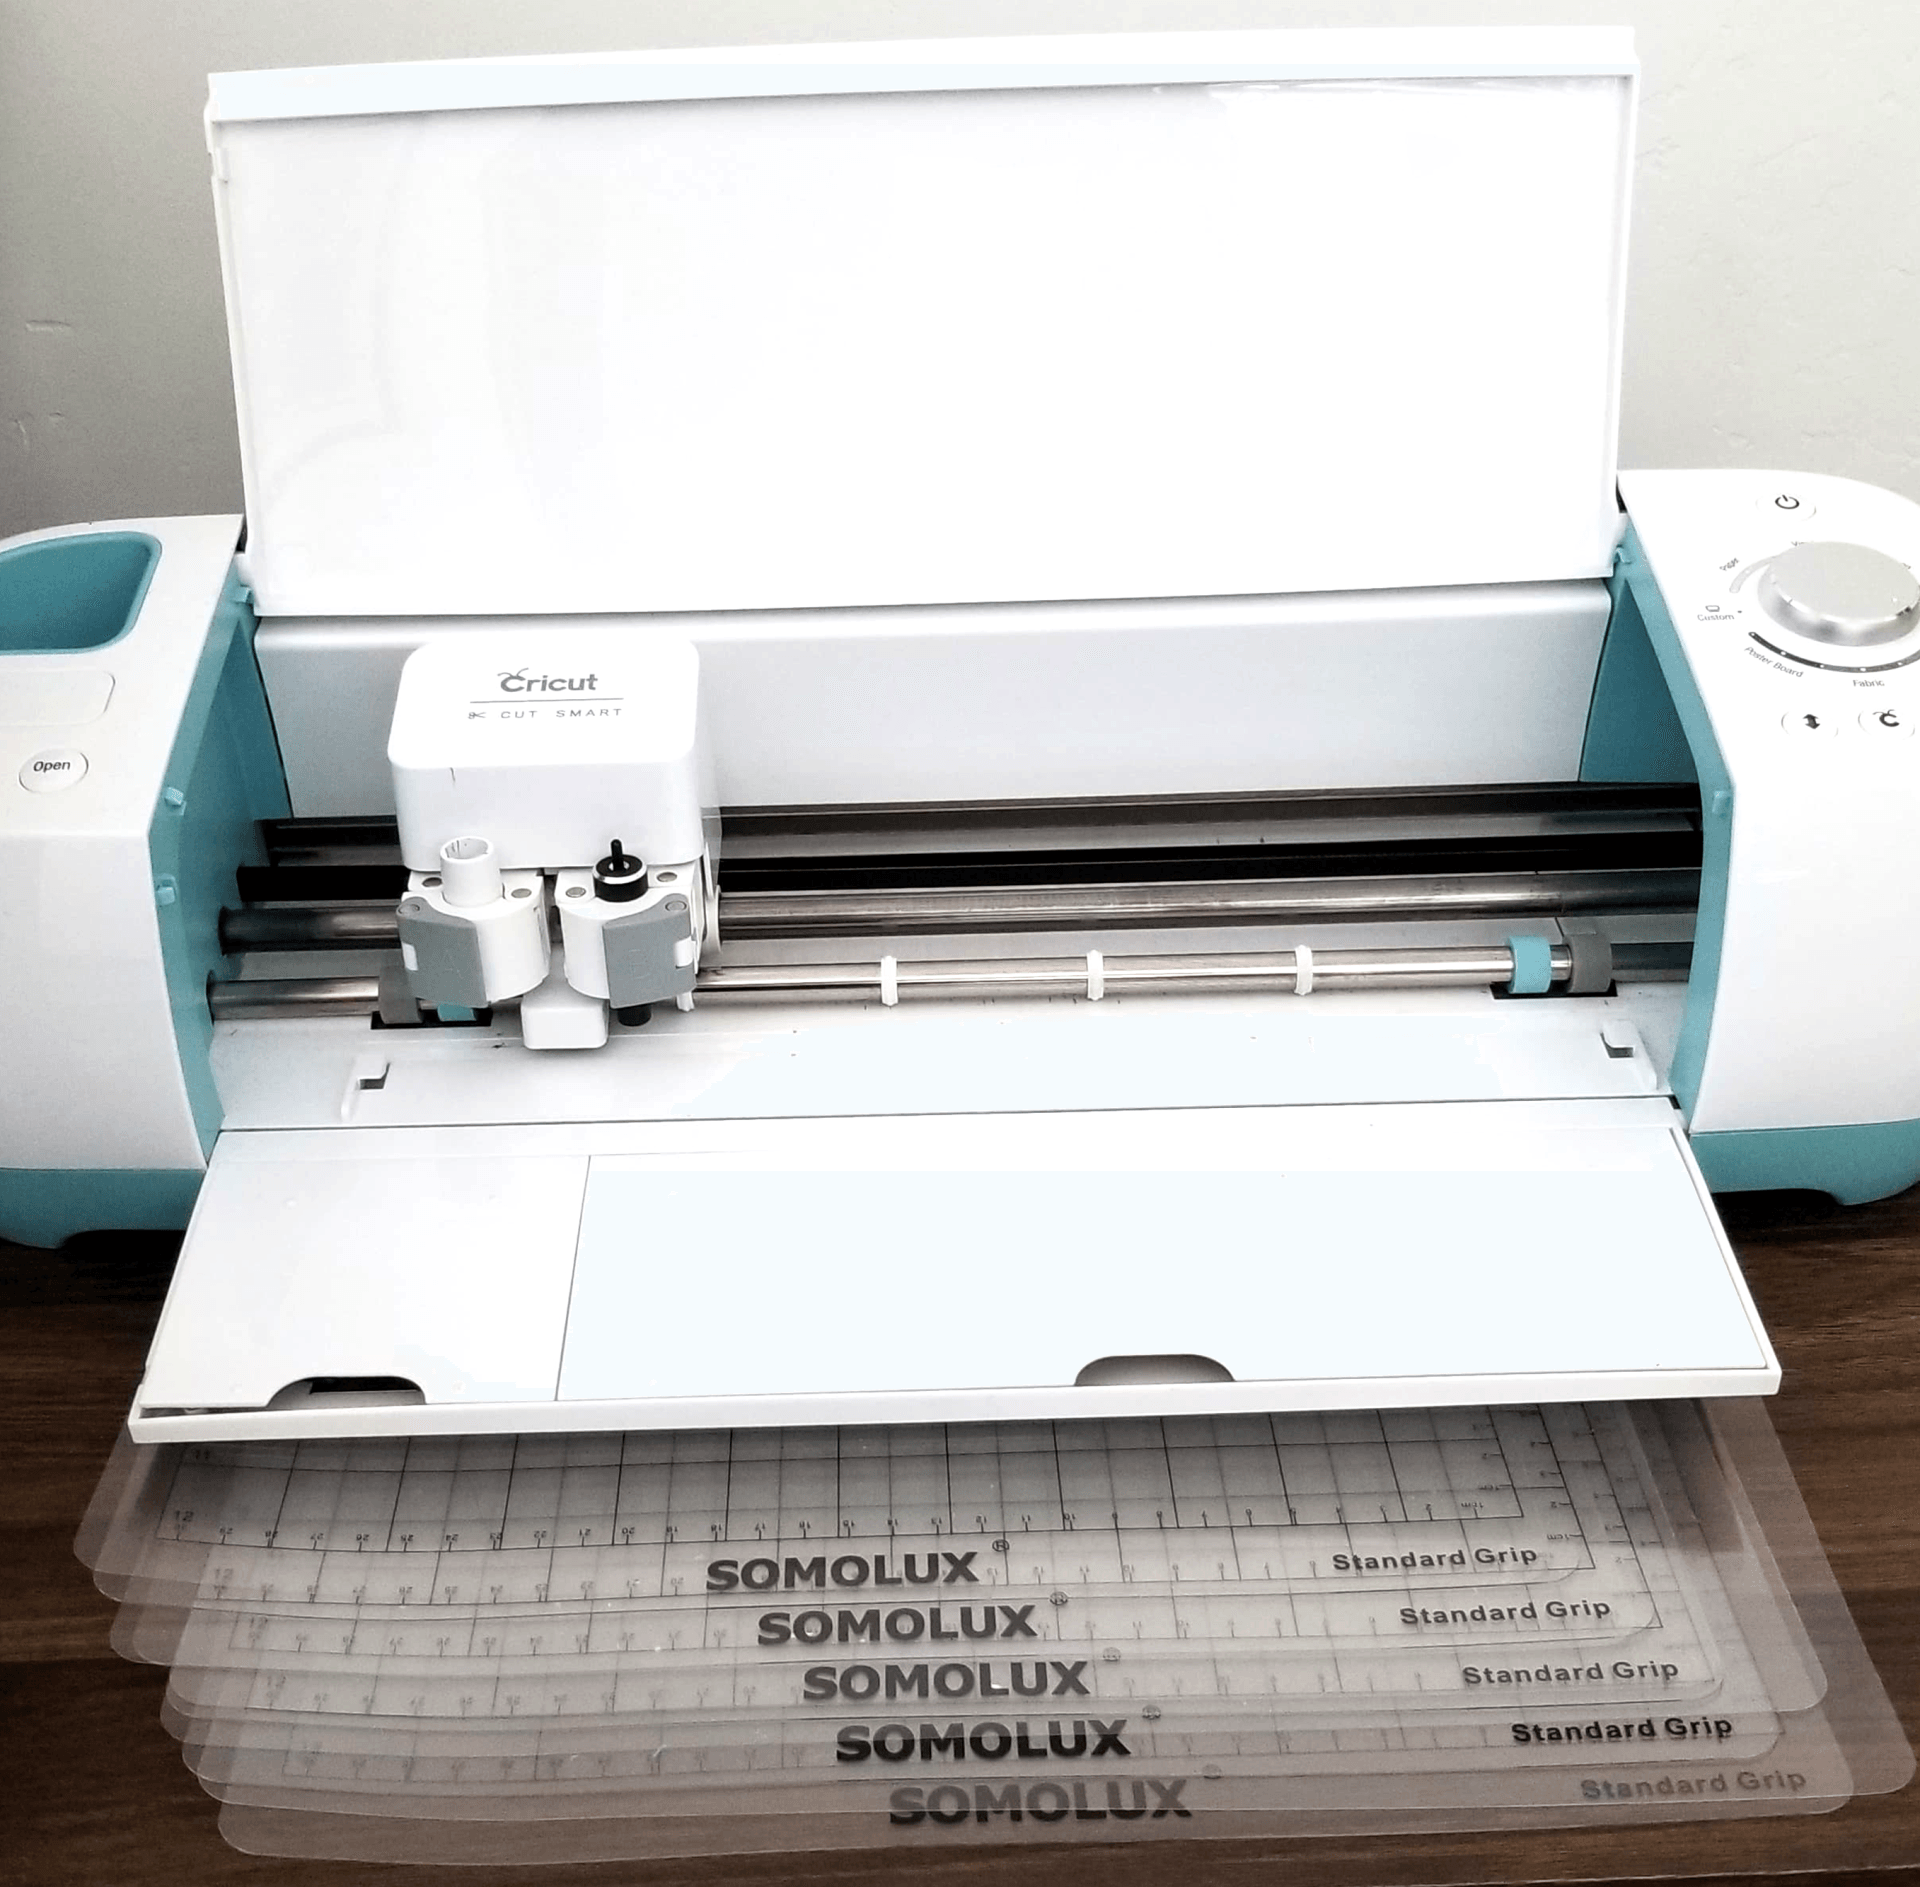
I’m pretty sure Cricut’s official name for these is just “grip mats” but sticky mats just sounds way more fun! These mats are essential for any Cricut project you will do as there is no other way to have your Cricut cut out, or draw on, any material if you don’t have a sticky mat. You might have already bought one, or maybe your machine came with one, but my best piece of advice I can give on this is to get MANY! (At the moment I have 5 that I use almost every day) If absolutely nothing else, start with two right off the bat because this way you can be working on 2 projects at once and get things done a lot faster. When your Cricut is done cutting out project A, you can have it start cutting out project B while you’re taking project A off the mat. This is a great way to streamline your crafting process and cut down on wait-time of sitting around waiting for your Cricut to finish a project before you can get it started on the next one. This way, while you’re busy at work with one project, your machine is at work on the next; 2 birds, one stone! Or rather 2 sticky mats, one Cricut.
One last tip, is you can clean your mats to get more life out of them but do note that, in the words of fellow Cricut crafter and blogger Shawn Mosch:
"cutting mats are intended to be disposable.
They are not designed to be used forever."
Want to save money?
I found a listing on Amazon that allowed me to buy a 5 pack of 12 x 12 sticky mats for the price of what I paid for 2 Cricut brand sticky mats. Here are the ones I bought that I swear by:
Browse more awesome discounted Cricut-compatible sticky mats below:
2. Replacement Blades
Your machine likely came with one standard cutting blade and it should last a while, but it won’t last forever. Additionally, there are different kinds of blades to cut different materials. I for example, primarily cut cardstock paper which I’ve found does the best with a deep-cut blade vs the standard blade. Just as I suggested getting multiple sticky mats, multiple blades is equally, if not more, important because if you only have one blade, it will get dull and stop cutting right and will smush, rip, and tear your projects which is an especially big bummer if you’re using fancier, more expensive materials.
To avoid letting your blade ruin projects, stack up on backup blades so that the second one does an imperfect cut you know it should be able to handle, you can swap it out immediately and continue crafting vs needing to go to the store to replace it, or worse yet, ordering a replacement online and having to pause all crafting for a few days until it arrives.
But aren’t replacement blades expensive?
If they’re the Cricut brand blades: yes. If they’re a different brand, or on a good sale: no. I recently discovered an off-brand of Cricut-compatible replacement blades on Amazon that allowed me to buy 30 replacement blades for less than I paid for ONE Cricut-brand replacement blade (don’t worry, links are down below). Please note: I’ve heard that in some cases, using non Cricut-brand products with your machine can void the warranty. Some people prefer to bite the bullet and stick with the Cricut brand until the warranty expires before they switch to the far cheaper brands, and some people just start with other brands from the get-go to save a ton of money on replacements in the meantime. The choice is COMPLETELY up to you.
3. Tools
Next on our list of essentials is tools. I was such a skeptic about tool sets at first, I remember when my mom surprised me with my first Cricut machine for my 18th birthday/high school graduation present she also gave me a tool set and I thought: why on earth did you spend money on this? The machine will cut shapes out of paper and I’ll just peel it off the mat with my hands like a normal person, right? WRONG! These tools are an absolute necessity. Though it’s true that if you’re just cutting squares and circles, the need for these tools will be minimal. However, if you plan on cutting out just about anything else, you will need these tools for 3 primary functions:
- Taking your project off the mat without ripping it
- Weeding your project (taking out all the tiny bits of materials that were cut and are still hanging on to your project)
- Cleaning your mat so it’s ready for next use (nobody wants to rid their mat of 50 tiny pieces of left-behind material with their hands; save your nails and your sanity and just use a scraper tool)
There are all different sorts of tool sets out there but I’ve listed some of the top Cricut-brand and budget-friendly tool sets below:
Budget-Friendly Tool Sets:
Cricut-Brand Tool Set Options:
4. Materials
Okay, now we’re getting to the fun stuff! You’ve purchased your technical basics, now it’s time for the exciting basics: MATERIALS! One of the best things about Cricut machines is all the different types of materials it can cut. For the longest time I limited myself to just paper but there’s SO much more your Cricut can do, here are just 12 examples of what Cricut's can cut:
Do note that different machines have different cutting capabilities so you will want to double check what your specific machine can cut, and what its pressure setting should be set to in order to cut that specific type of material correctly. Additionally, you will want to make sure you are using the correct blade and sticky mat for that kind of material.
Finally, let’s not forget that certain Cricut machines aren’t just for cutting and can DRAW too! This is a great way to add a second level of media and artistic style to your projects, and to get perfectly drawn shapes, boarders, handwriting and more, that you just can’t get on your own. To get you started, I’ve provided links to some of my favorite basic materials below that should get you going on a host of different projects. I suggest trying out paper, pens, cardstock, and vinyl in the beginning:
5. Sanity
Have you ever walked past the toy aisle in a thrift store after a bunch of kids have hauled out just about every toy, played with it, and left it on the ground, leaving it looking like a tornado hit JUST that section of the store? Imagine you were shopping for a toy car and you needed to find one in THAT aisle… that’d be pretty overwhelming right? It’d be much easier to just run to a target where everything is clean, organized, and easy to find right? Even if the thrift store had the exact same toys in their toy aisle, the simple fact that it was disorganized and cluttered would make most people want to run their other way to do their shopping elsewhere.
Well, the same goes for your workspace. Just because you now have all the things that you need for your projects in one place, doesn’t necessarily mean you’re good to go yet. Now it’s time to get organized and create an inspiring workspace that can harness creativity and efficiency instead of clutter and anxiety. People are affected by their environments and here are three basic tips you can follow to create a better workspace:
- Declutter: You can start by taking everything off your desk that isn’t an essential part of your workspace setup. For example: tools, pens, paper, vinyl, extra blades, sticky mats, etc. pretty much everything except your computer and Cricut can go (for now).
- Organize: I always like to start this process by sorting everything so that similar items are kept together. Some basic categories I’ve sorted into before include: writing utensils, Cricut tools, crafting materials (paper, vinyl, etc.), and other miscellaneous craft supplies (tape, scissors, embellishments, etc.)
- Contain: Once everything is off my desk and sorted into some basic categories, next, I store it in a way that is contained, put away, and in a logical place that is easy to get to when I need it. A good rule of thumb is to keep things you use more often, closer to your workspace. This may mean keeping no more than 2 or 3 sticky mats near your workspace, and extras in the closet. Additionally, I also try to store my supplies in a way that still keeps my workspace from feeling cluttered; so for me, this means always using solid-colored storage containers vs clear or opaque ones. Whatever works for you, do that! Here are my 5 of my favorite storage methods/supplies:
- Stackable containers with lids
- Drawer sets
- Paper organizing trays
- Square fabric bins with labels on a cube storage shelf
- Label maker (or make your own fun labels with your Cricut)
Want more guidance on how to reclaim your sanity with a clean, organized craft room?
Then check out this Ultimate Guide On How To Organize Your Craft Room.
Check out some awesome craft room organization items below:
So there you have it!
You now know all my secrets behind the top 5 must-haves for new Cricut crafters. What are some of your favorite tips and products? Share your thoughts and any other tips and organization hacks you have in the comments below. For some more fun Cricut-related conversations and tutorials, explore the rest of my blog and check out my Youtube channel: Crafting Spree or save more money with me by joining my Cricut deals group on Facebook: Nifty Thrifty Deals
Check out the Crafting Spree blog for more DIY, Crafting & Cricut Resources:


